Here’s a bit more on the Hummingbird Festival we attended on Saturday (previous posts are here and here). The tools used for banding hummingbirds are similar to those used for banding passerines, only smaller. A lot smaller.
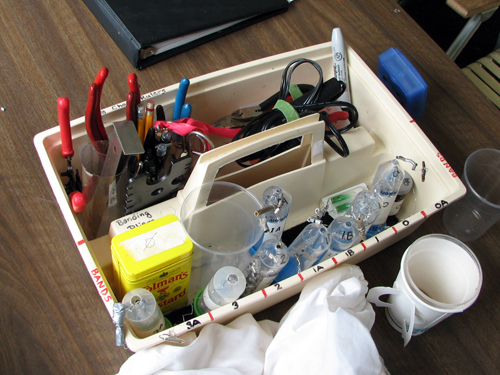
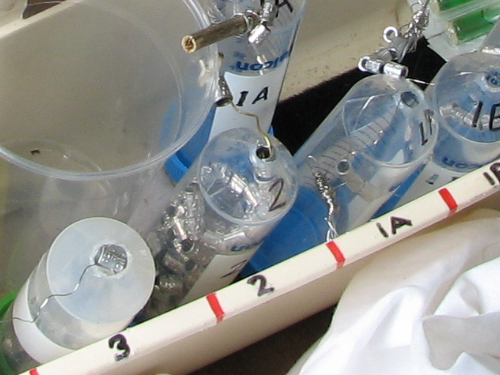
Here is a very organized bander’s toolbox. These are the tools an ‘ordinary’ bander uses – these are not the tools used on hummingbirds. The second photo is zoomed in on a container of bands from the first image.


Those number 2 bands are about 7mm tall and would be used on a bird like an American Robin or a Mockingbird. Here’s a hummingbird band:
That speck in the middle of the card I’m holding is a band for a Ruby-throated Hummingbird. It is about one and a half millimeters tall. Here are some of the tools Vern used during the banding demonstration.
The pliers are used to open the bands in order to place them around the bird’s ankle and close it again once it is in place. The magnifying glass is used to read the bands, while the ruler is for measuring the bird’s wings. The sheet of aluminum on the left of the photo is an uncut sheet of hummingbird bands. Hummingbird bands don’t come from the USGS already assembled like other bird bands – the hummingbird bander has to prepare the bands himself.
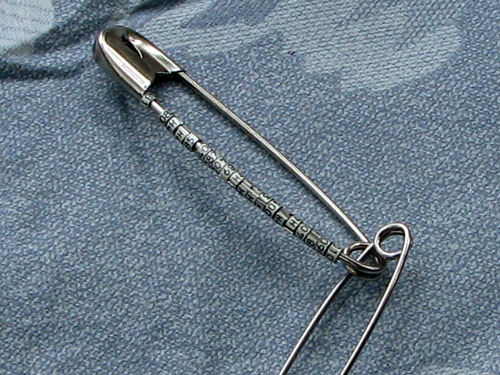
This means cutting the bands to the proper size (different species require slightly different cuts) and sanding the rough metal edges. Once the bands are ready Vern placed them on a safety pin, in the right numerical order, until they were needed. There are 20 bands on the safety pin pictured below.


One Response to Tools for banding a hummingbird